Tag Archives: baby

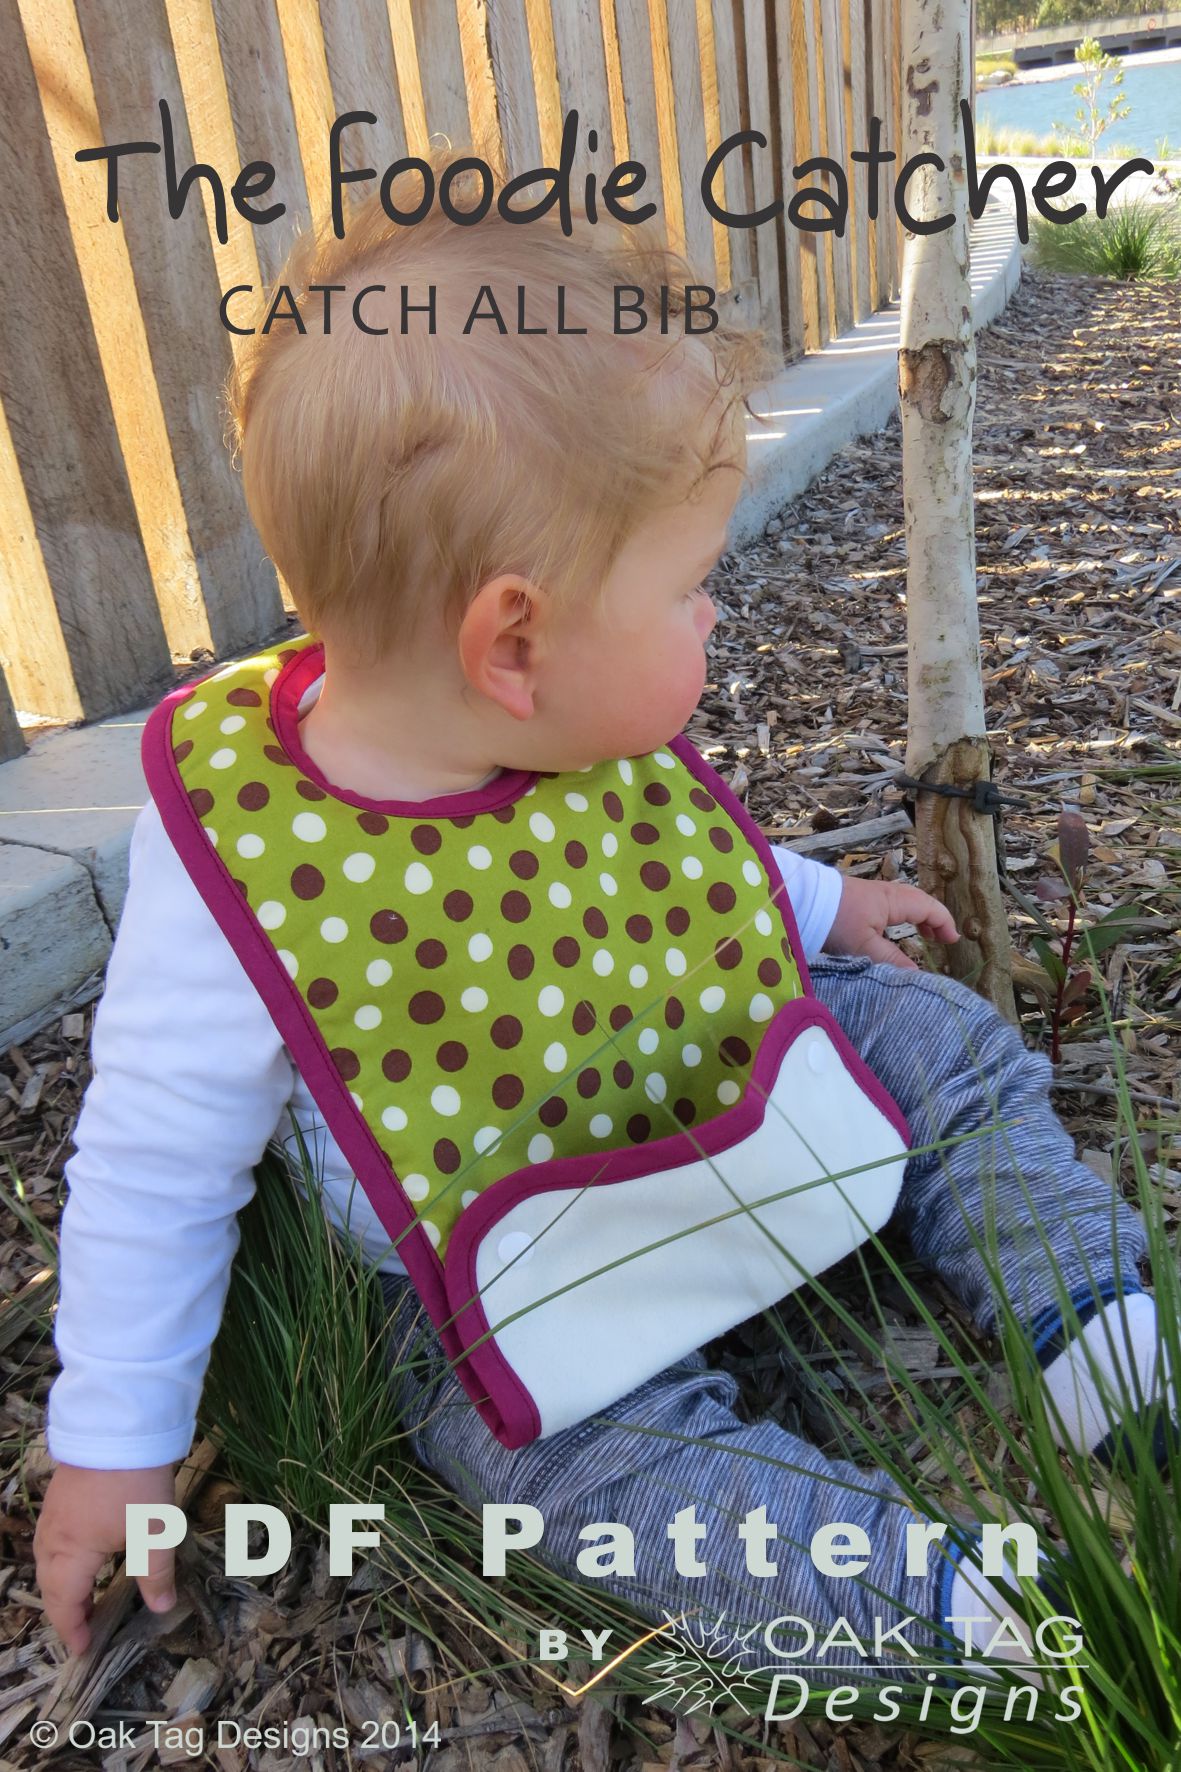
‘The Foodie Catcher’ catch all bib PDF pattern released!!!

Foodie Catcher bib PDF pattern by Oak Tag Designs - available through Etsy

Ive been selling the catch all bibs on etsy for a few weeks now. I just love them. Im not sure if I have mentioned it before, but the pattern is one that I drafted myself after using so many different bibs for my kids. My second daughter had the pleasure of using some, which Ive since modified a bit.

The bib folds up at the bottom to catch any food, but can be let down as the child gets older, or for washing. It also uses a cotton fabric on the front to catch fluid and food, while the microfleece or minky on the back acts to help fluid stay at the front and not leak through to the child’s clothes. It fits 6 months through to 4 years, so lasting a baby and toddler the whole time they need a bib for meal times.

So my original intention was to release the pattern, and its finally finished!! It is now on my Etsy store, as a PDF pattern, ready for download.

The pattern is AU$6, but with the 10% sale in my store lasting to the end of September, you have a few more days to purchase it with 10% off! Just use the code ‘SEPT10’ in check out.

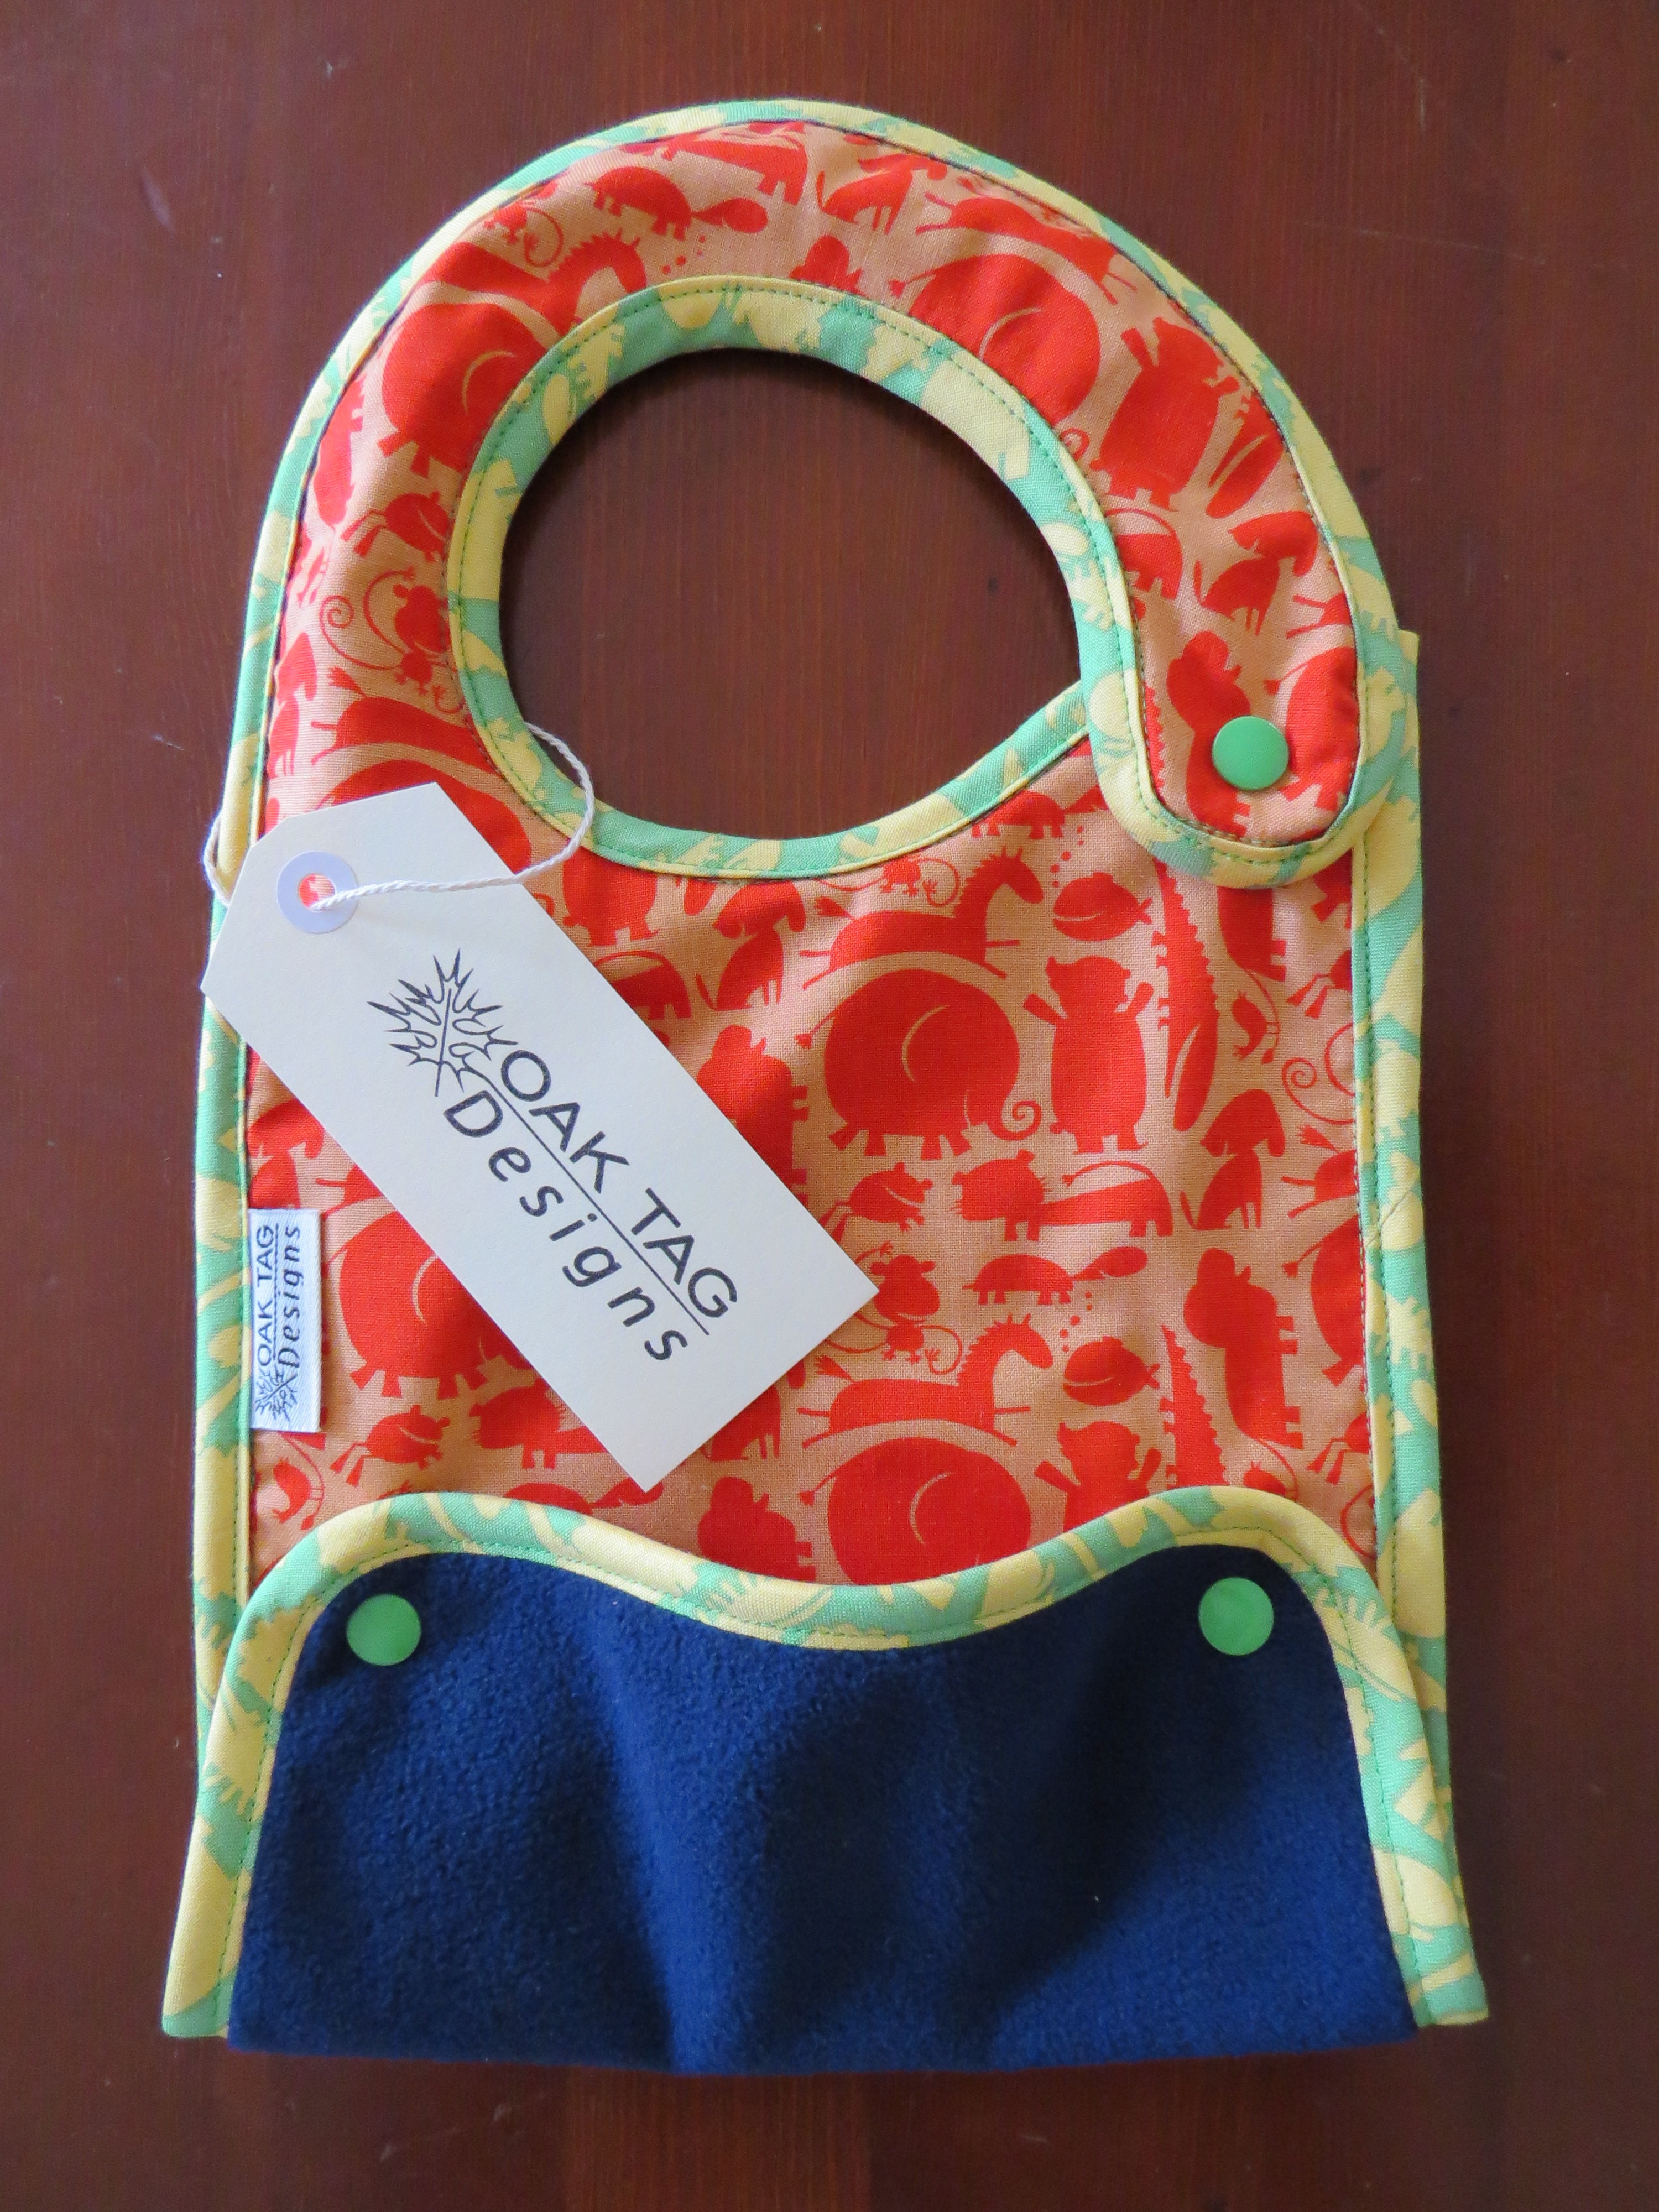
More catch-all bibs :)

Catch all bib - fits 6 months to 4 years

I finished these bibs last night, and now they are up on my Etsy store. Admittedly, I had almost finished them about 2 weeks ago, but… I didnt have enough of the right coloured snaps, so I had to wait for some more.

Still my favourite of the catch-all bibs is the stripey ones. I sold one to a friend last week and it jet-setted off to the UK for a lucky little baby boy 🙂

I think this will be the second last colour in the catch-all bibs for a while. I’m going to be (as promised for a long time!) releasing some patterns soon 🙂


Cloth wipes!

I may have failed to mention recently that I have added cloth wipes to my Etsy store!

A few years ago, I used to make and sell them on eBay, but family commitments meant I no longer had the time. They were very popular, and I would even get emailed to make special orders. I still now, get friends asking me whether I can make them some cloth wipes.

Here are the ones I have up on my store at the moment; just click the picture to get taken through to the listing 🙂

5 x blue rose cloth wipes - Oak Tag Designs

5 x blue spots cloth wipes - Oak Tag Designs

A while ago, I made up  a tutorial on how to make cloth wipes. They are very simple to make, so if you find yourself handy with the overlocker…

Cloth Wipes Tutorial

Enjoy!

A knitting pattern is on the way!

I’m very excited to announce that I’m halfway through getting my first knitting pattern ready for sale. Hooray!!

I don’t want to give away exactly what it looks like.. but I can say, its a 2 piece set for all those little boys that are soon to be born! It can be used for a photo shoot or everyday wear, and I think it goes without saying that its cuuuuuuute!


Burp Cloth Tutorial

Burp Cloth Tutorial

Heres a little tutorial for you this week. I made some of these a few years ago for my.. husbands cousins wifes baby.. well, I guess the baby was my husbands cousins as well! She found them so good, she suggested I did a tutorial on how to make them, so here it is! They are very simple, but turn out cute and very handy.

What you need to make 2 burp cloths:

  • A small piece of flannelette, quilting fabric or towelling (approx. 50 cm x 40 cm)
  • A small piece of minky or microfleece the same size as above (I have used minky in the photos)
  • Sewing machine (only straight stitch needed)
  • Thread in matching colour, for sewing machine
  • Scissors

Burp cloth cutting out

First cut your 2 pieces into rectangles to make 2 matching pairs. This means the above amount should be cut down the middle, so that the rectangles equal 50 cm x 20cm. For the top pink burp cloth, it was approximately 54 cm x 20 cm, and for the bottom approximately 38 cm x 18 xcm. The exact size is not important, just wide and long enough to fit over your shoulder.

Burp cloth sewing guide

Next you need to place right sides together, and sew around the edge leaving a small gap (about 8 cm should suffice) as shown above. It is up to you how far in you sew for your seam. I would do about 1cm, but if you find that you are not very good at using the sewing machine, you can increase this.

Burp cloth clip corners

Next clip the corners as shown otherwise they will bunch when turned in the right way.

Burp cloth final stitching

After turning in the right way and pushing all the edges and corners out, you need to topstitch around the edge. The gap that was used for turning the burp cloth must be turned in the amount of the seam, so that it lines up with the rest of the edge. I topstitch in about 3mm, but again, it is up to you. If you find it hard to control the fabric when sewing I would suggest sewing the topstitching in further, just so you dont have any accidental stitching off the side.

Always remember to stitch backwards and forwards when starting and finishing your topstitching so you dont have any unraveling later.

Finished burp cloths

There you go! All done, ready for some baby’s milky spit-up!

Tutorial – How to make a wet bag

Wet bag tutorial

This wetbag doesnt require any fancy sewing, and nothing more than a regular sewing machine. They can be used to store cloth nappies, face washers, wipes or wet bathers. Once you have mastered one, they are very quick to sew up.

When I was pregnant with my second bub, and dare I say it, money was tight after I run up the back of someone in the car :/, I made wetbags and sold them online. I sold a few other cloth nappy products I sewed myself, but wetbags sold like hotcakes. Once the bub was born, I stopped doing them. From time to time, I would have friends ask to make them some, usually because they were finding it hard to purchase some! So when I made some recently, I thought, its high time that I did a tutorial to help others make their own, or as gifts.

The first things you need to think about are your materials. I am going to say it now, and probably just repeat it again.. everything NEEDS to be polyester. Think a cotton PUL/zip/applique/handle/thread is cute/in a nice colour/on sale? NO. Dont do it. It is very likely to wick around, and become wet. Please trust me on this one, and dont waste your energy and materials. So with that in mind, let the cute (polyester, hehe) fabrics catch your eye!

  • A large rectangle of polyester PUL (ideally 5ocm in length, and whatever width desired)
  • Polyester thread
  • Zip slightly shorter in length than width of PUL
  • Small offcut of FOE approx. 20cm (optional if handle required)

Wet bag fabric

For ease of making multiples, I use a 50 cm length and then line the zips up across the top and cut downward, as shown in the photo above.

Wet bag cut out

Here are the two cut out with the zips and FOE I planned to use as the straps.

Sewing strap

First take to the sewing machine with the FOE. Zig zag the FOE down the length of it.

Wet bag zip insertion

Next, line the zip up right side down (onto the right side of the fabric) as shown and use a nice skinny foot on the machine and sew a straight stitch down. I have made a habit of sewing another line down closer to the raw edge.  The reason evades me now, so Im going to go with being meticulous!

Wet bag zip insertion 2

Next fold the wet bag in half to make the right sides in and repeat for the other edge of the zip.

Wet bag strap insertionWet bag zip insertion 2Wet bag zip insertion 3

Next to put the strap in while sewing the side seams…

  1. Keeping the wetbag inside out, place the FOE in it as shown in the 1st photo above. Then fold the top of the wetbag down onto the FOE, so that the zip is around 5cm down from the top.
  2. Make sure you flip the zip back up, so the PUL is folded back on itself (see how the zip is sitting in the 2nd photo). Next bring the bottom half of the zip up to meet the top half (as you can see in the 2nd photo). Next pin down the side edge (close to the edge so you dont create holes in the bag) all the way to the bottom. This is important as sometimes when using PUL, the top layer may stretch while the bottom doesnt (just the way the machine feeds it through), creating a puckered look. By pinning, it keeps it even to ensure this doesnt happen. Next sew firmly down the side seam close to the end of the zip. Be sure to sew back and forth at the corners, so you dont have the seams unravelling later.
  3. When you have sewn the inside seam, fold the seam back, like in the 3rd photo. Cut the strap excess off, and continue to sew another seam further out towards the edge. This creates a double seam for strength, and to help prevent any leakings! (Also, I like the way in encases the strap.!)
  4. Repeat the double seam down the other side of the wetbag. And for my red hot tip: leave the zip a bit open so you can turn it in the right way when you are done. Lesson learnt here, haha!

And then you are all done!!

Wet bag tutorial